Why 'npm link'?
If you are working on a node project there may come a point where your app has a dependency on another custom module you have created.
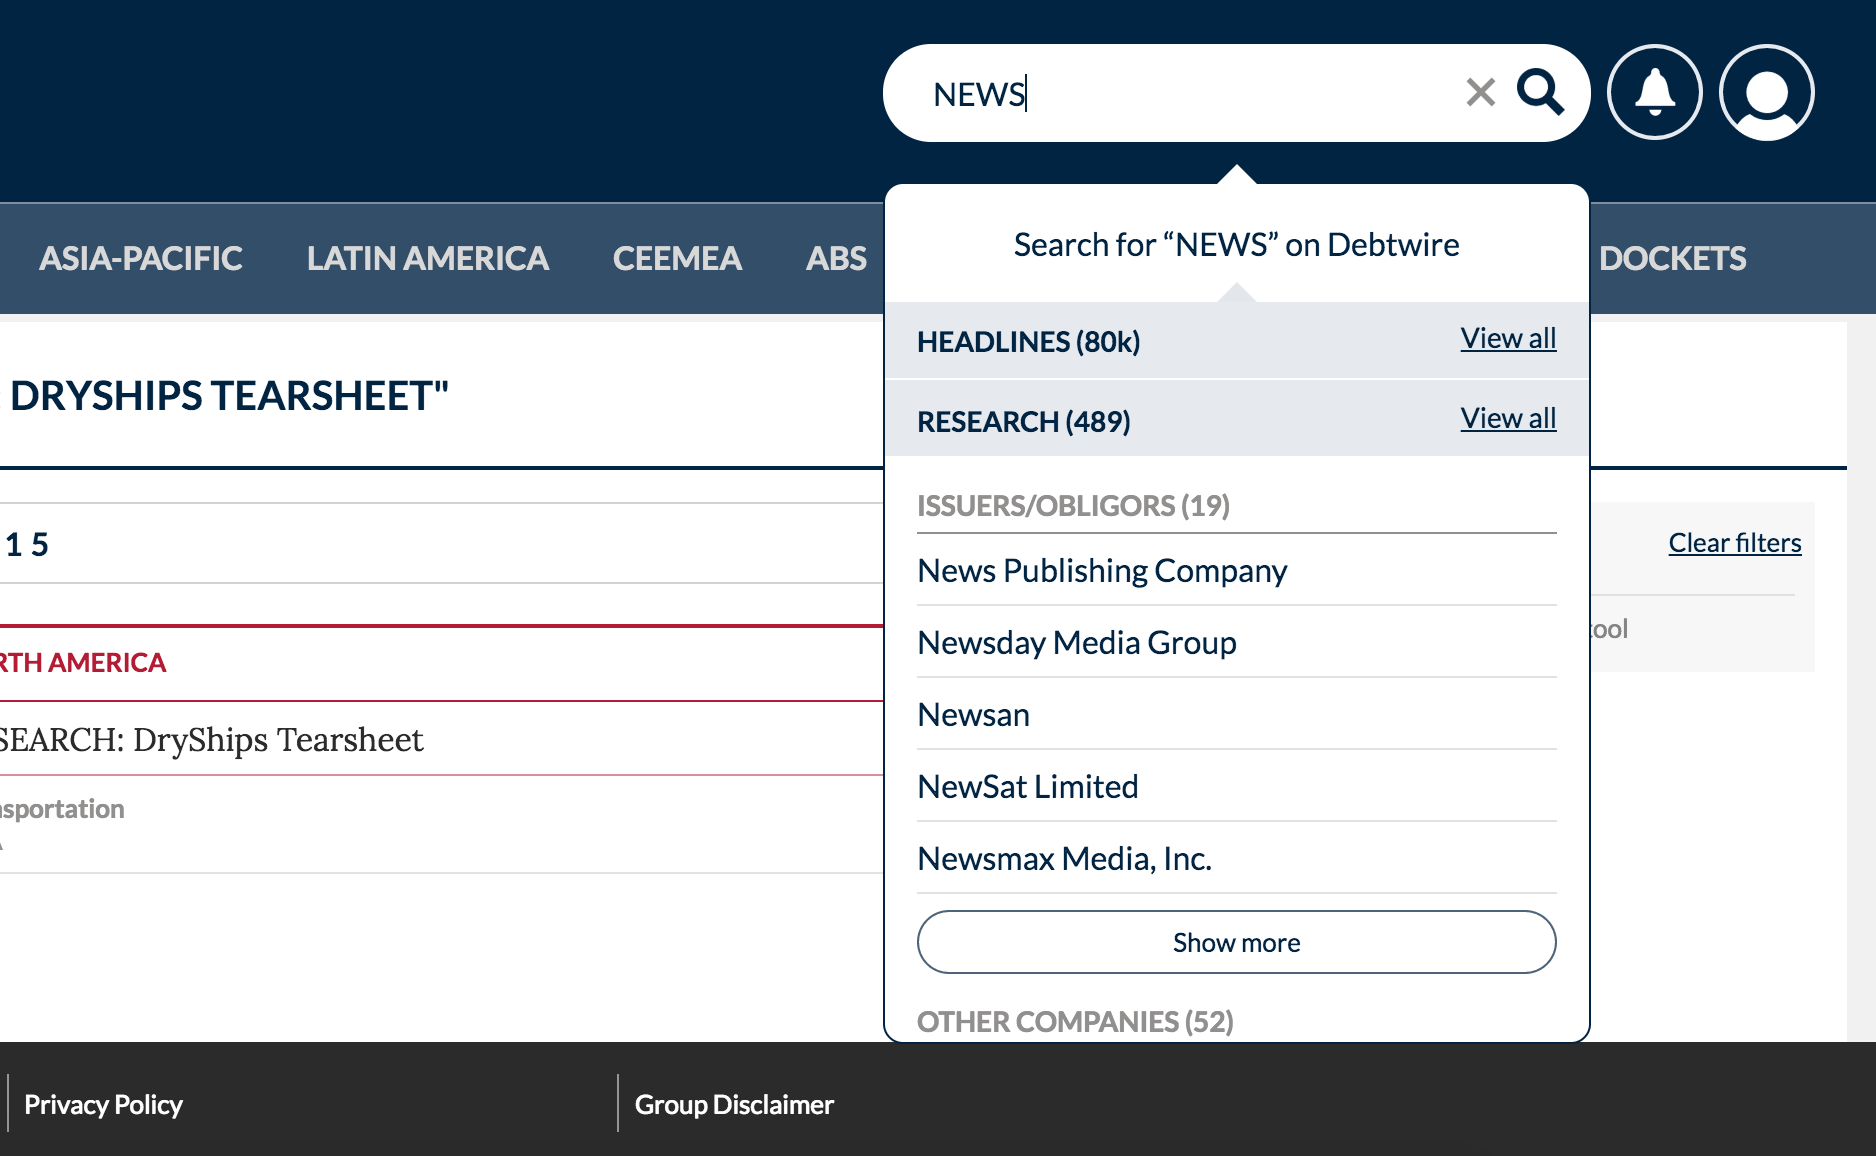
For example, at one of our clients, my colleagues and I are responsible for a shared component called the Search Component. Like many of the 'shared' libraries used in this particular project, the Search Component is published to, and accessed from a private Artifactory repository. It can be inserted anywhere in the application (usually the header), allowing the user to easily search the site's content and instantly see a results summary.
 Above: The Search Component is a custom node module that can be inserted anywhere in the parent application
Although automated testing certainly has its place, when it comes to working with shared components, particularly those that are user-facing, manual testing can provide some benefits. When you are at the early stages of feature implementation, or spiking, sometimes it makes more sense to manually test the effects of your changes at the user interface level and iterate accordingly. Once you stabilise, then robust tests can (and should) be put in place.
This was particularly true for me when it came to working with the Search Component. Once the app was started, modifying the Search Component in place thereafter would not result in any observable changes.
Luckily, the node package manager (npm) has a way to make development with dependencies a lot easier via the npm link command.
'npm link' in a nutshell
The npm documentation defines npm link as a 'means to symlink a package folder'. Put simply, it's a means to connect your parent application to a module you have locally on your machine. When you run the application, any changes you make to the dependency will be reflected in the application.
How to 'npm link'
-
In the terminal, navigate to the folder of the dependency you want to modify and run the command
npm link. This makes the component globally available to the rest of your application. -
Navigate to the folder of the parent application (i.e the one that depends on the module you want to modify). In the root run the command
npm link [name of module you want to modify] -
Next, run both the parent application and the module dependency then start making changes to the dependency to your heart's content. In addition, using a library that watches for changes in your code and rebuilds your app such as Nodemon will be essential in order to save you from restarting the application all the time.
-
Finally, once you have all the changes in place (plus tests!), navigate to the folder of the parent application and unlink the dependency using
npm unlink [name of module you modified]. This will remove the local dependency from the parent application. Similarly, navigate to the folder of the dependency you modified and runnpm unlinkto no longer make the module globally available. Publish your (modified) dependency, then access the latest version by doing a standardnpm install.
One of the great things about the node ecosystem is that it encourages single responsibility by making it easy to create and deploy tightly defined modules that can be shared across your wider application. This decoupling however, makes live modification of your dependencies a little trickier, but as we have seen, its a case of using the tools provided.
Just npm-link all-the-things and hopefully this will make life a little easier for you.
